
Android smartphones are notable in the vast world of smartphone technology due to their customization options and flexibility. Although the majority of users are satisfied with the features and configurations offered by manufacturers, some daring individuals attempt to fully utilize their devices by rooting them. Users who root their Android phones get superuser access, which gives them the ability to install custom firmware, change system files, and access a variety of other advanced features. It’s important to remember that rooting can potentially brick your device and void your warranty, so it’s not a decision to be made lightly. Here’s a thorough guide on How to Root Android Phone safely and successfully.
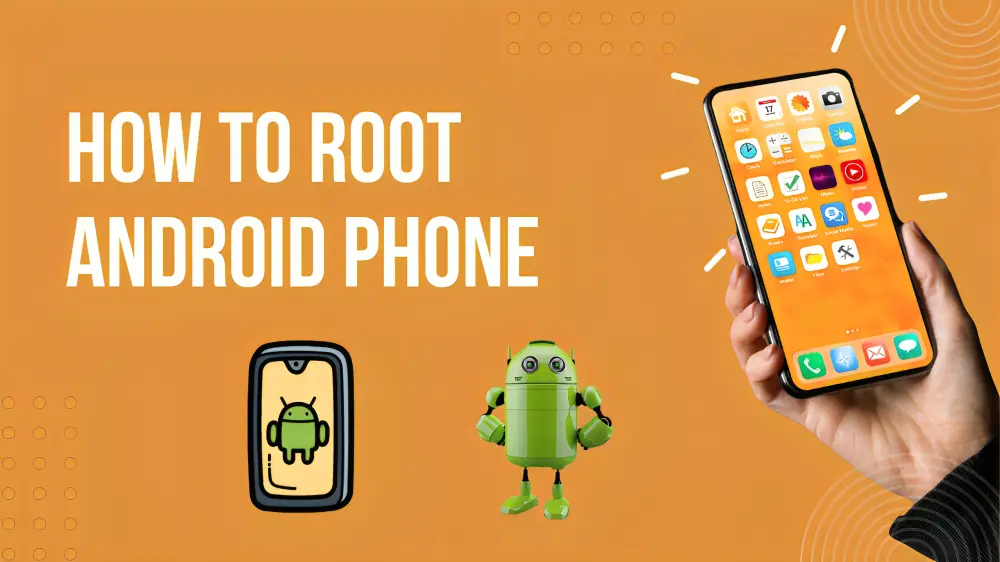
How to Root Android Phone: The Basics
Depending on the phone and method you use, there are differences in the rooting process. Because Android is a more secure system than it was in the days before Android 7, rooting an Android device is not as easy as it once was. We will walk you through the most popular approach for 2021. There are three steps to it, and a Windows computer is required.
We first prepare the phone so that it can properly connect to your computer. Next, we unlock the bootloader, which is your phone’s starter motor that launches the Android operating system. This allows us to manipulate the process that occurs before Android loading. Before the Android loading screen appears, we insert another piece of software and use it to change the Android kernel, which serves as the link between the hardware and operating system of the phone.
Back up Your Phone
One of the most crucial things you can do is to back up your data, as anyone who has dealt with an IT specialist will attest to. This is especially crucial when rooting your phone in case something goes wrong or you decide to change your mind. (Reversing rooting is possible.) There are several ways to back up your Android device: through third-party apps or Google’s tools.
Connecting your Phone to your computer
We must first unlock the developer mode on your phone. To add a Developer options section to its Settings menu, navigate to Settings > About Phone and tap Build Number seven times. Now that we have this Developer section in Settings, we need to enable USB Debugging and OEM Unlocking, each of which has its menu item. Use the Settings search box if you are unable to locate the new Developer section.
Next, on your PC, Install the Android SDK Platform Tools. This enables appropriate phone-to-PC communication. Install it on your computer in a folder of your choosing. Since we’ll have to manually type the folder title later, we advise keeping it brief.
You might also need to find the USB drivers for your phone. You can find more information about that one by searching Google, but when you connect your phone to your laptop using a USB cable, they might install themselves. The next action varies based on the phone that you are using. The bootloader, the only interface section we can access before Android operating properly, is about to be unlocked.
For instance, we needed to obtain a bootloader unlock code from Motorola’s website to use our tester Moto G4. However, some other phones don’t require that level of communication. Do you own a OnePlus 9? Enter CMD into the taskbar search box to launch the Command Prompt app on your laptop. From there, locate the folder where you previously installed the Android SDK Platform Tools.
Not familiar with the commands in Command Prompt? You would type “cd tools” to open the Tools folder if you had installed those tools there. If you need to return to the root of your C drive, you can use the command “cd..” to exit a folder. If all of this seems like tech-speak to you, you might want to think twice before rooting phones. To unlock the bootloader, type “fastboot flashing unlock” after that.
Just one illustration of the kind of procedure involved is this. It would be best if you looked up the precise steps involved on the internet using your phone. The XDA Developers forums are a great resource for anything about rooting as well. This article’s main goal is to introduce rooting to readers who lack the fundamental understanding needed to follow the discussions on the XDA Developers forums.
How to Root Android Phone: Using TWRP
Starting TWRP is the next step for us. We will flash our Android device using this software, which is called the Team Win Recovery Project. There are versions for numerous phone models on the TWRP website’s Devices page. They are provided as a file in the “image” format, which we should Install on the computer right now rather than the phone.
After Installing the file, move it to the folder where you placed the Android SDK Platform Tools in the previous step of this tutorial. We suggest renaming it to “twrp. img” because we will soon need to type out the phone’s full name because it will by default have it in the file name.
Enter CMD into the taskbar search box to open Command Prompt again after plugging your phone into your laptop or desktop. Next, navigate back to the folder where we dropped the twrp.img file—our reliable Android SDK Platform Tools folder.
Press and hold the volume down and power buttons simultaneously while turning on your phone to force it to enter its bootloader. Holding them down will cause the text-based bootloader screen to show up. Your phone might require a different button gesture if this doesn’t work. Google is useful.
Let’s return to the laptop/desktop now. Type “fastboot flash recovery twrp. img” into the Command Prompt. The procedure should have been successful, even though the feedback displayed on the screen might suggest otherwise. After choosing “Recovery” with the phone’s volume buttons, press the power button. TWRP should boot up on the phone in a few seconds.
Install an APK or Custom ROM
Installing software on your device is made possible by the APK; the most popular ones are Kingo and Towelroot. Custom ROMs are alternate Android operating systems with different interfaces and more features than the stock Android OS. There are many more, but the two most well-known are Paranoid Android and LineageOS (formerly CyanogenMod).
Install a Root Management App
A management app can shield your rooted phone from security flaws and stop third-party apps from accessing personal data.
The Pros
For the pedants, there is the first. On rooted phones, bloatware system apps can be removed. Manufacturers pre-install these “junk” apps, which they won’t let you uninstall.
These no longer particularly irritate us. Most manufacturers that pile on the most will frequently include an option to “hide” apps without uninstalling them, and the majority take up very little space. They won’t take up any room in your app drawer, but they might use up a few megabytes of storage.
Perhaps custom ROMs are more entertaining. These are substitute Android-based operating systems that take the place of the one that comes pre-installed on your phone.
They usually have a slightly different layout and extra features, in addition to possibly having a different appearance. Some allow you to increase the clock speed of the CPU. The most significant thing is that these ROMs have been updated for years after the updates for your own outdated Android device ceased.
Conclusion
How to Root Android Phone, An Android phone’s root allows users to customize and control their device like never before. Users who grasp the fundamentals of the process can optimize their device’s performance, unlock advanced features, and customize their experience to suit their preferences—even though improper handling of the process could void warranties and pose risks. Proceed with awareness and caution.